Getting Started
Installation
The CMS is deployed as a containerized service. Deployment involves preparing the database, configuring application settings, and validating connectivity to Azure Stack Hub.
Prerequisites
-
A Linux or Windows host with Docker or Kubernetes support
-
Access to a MySQL 8.0 or later database instance
-
Administrative access to Azure Stack Hub endpoints
-
A valid TLS certificate for the portal and API endpoints
Installation Steps
-
Database Setup
-
Create a dedicated MySQL database (e.g.,
cms). -
Apply the schema migrations provided with the installation package.
-
-
Application Deployment
-
Pull the container image from the registry or build it from source.
-
Run the container with environment variables specifying database connection strings, identity provider configuration, and API settings.
-
If deploying on Kubernetes, apply the provided YAML manifests to the cluster.
-
-
Initial Configuration
-
Access the CMS portal at
https://<hostname>. -
Log in with the default administrator account created during setup.
-
Update branding, system settings, and identity provider integration through the Administration menu.
-
-
Connectivity Validation
-
Confirm that the CMS can reach Azure Stack Hub endpoints.
-
Test authentication through Microsoft Entra ID or the configured identity provider.
-
Verify database connectivity and confirm that initial tenants and subscriptions can be created.
-
Post-Installation Tasks
-
Replace default credentials with secure administrator accounts.
-
Configure backup routines for the MySQL database.
-
Set up monitoring and logging integration (see Operations → Monitoring & Alerts).
First Login
Once the CMS has been deployed and initial configuration is complete, administrators and users can access the portal and API. The first login process establishes identity integration and sets the foundation for role-based access control (RBAC).
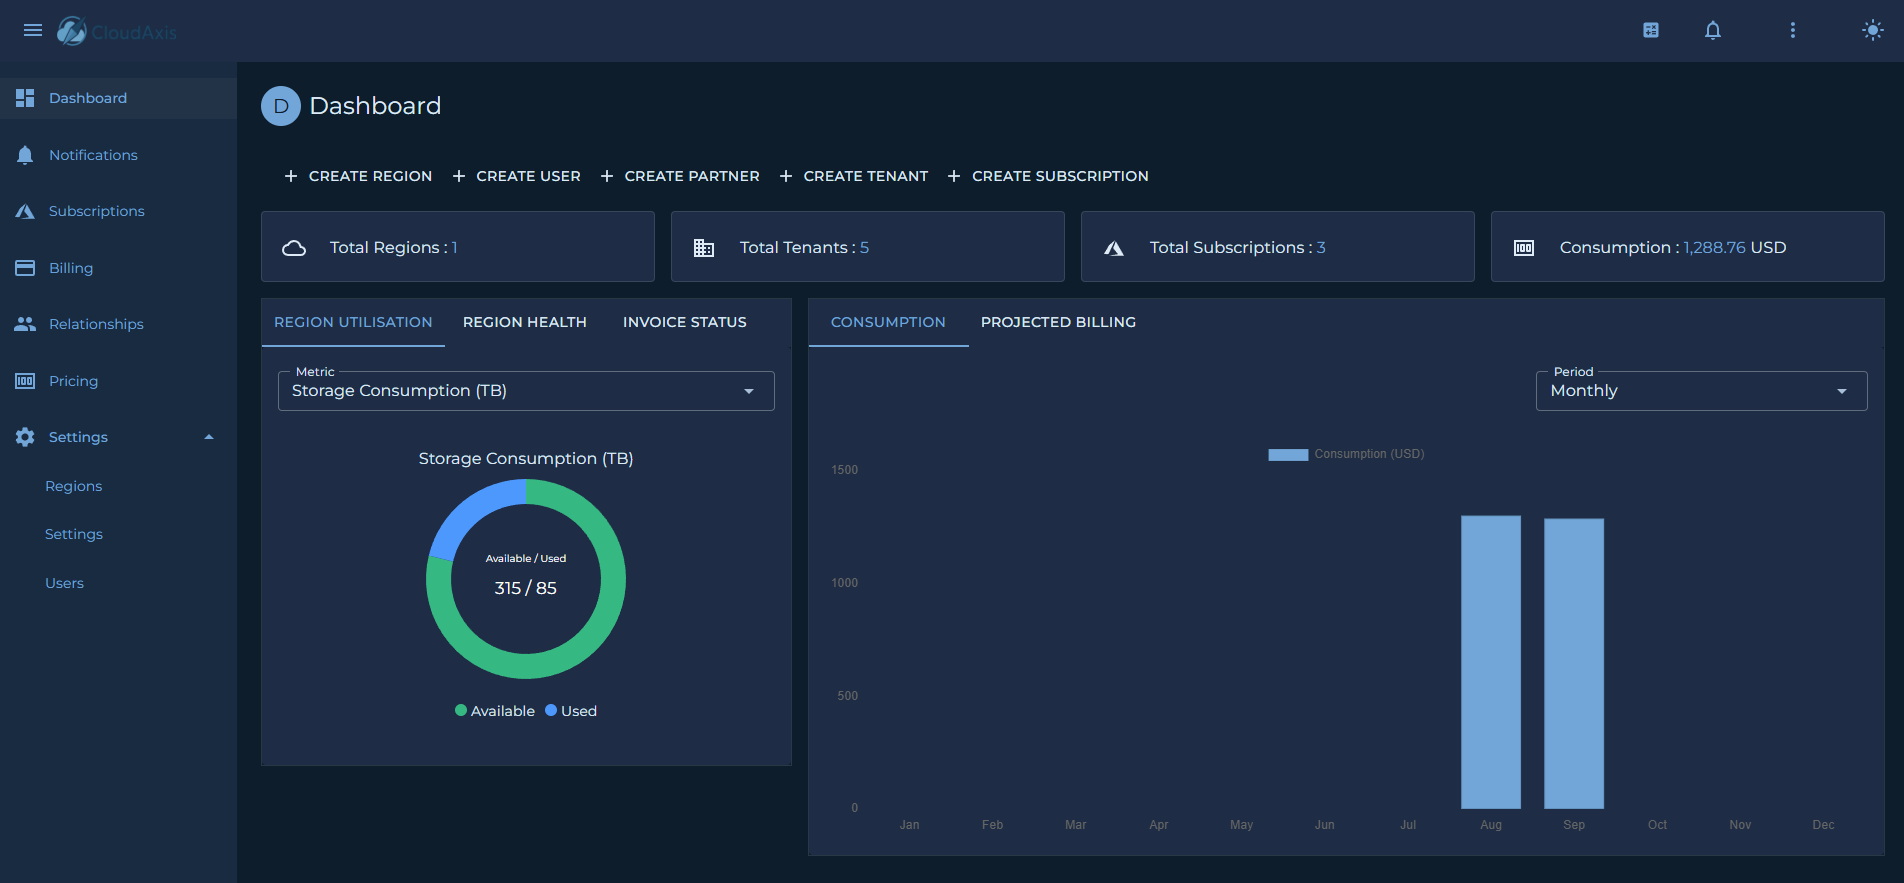
Accessing the Portal
Default Roles
The CMS uses a role-based access model to control permissions. The following roles are provided by default:
-
Platform Administrator
Full system access, including tenant onboarding, subscription management, billing, pricing, and system configuration. -
Tenant Administrator
Scoped access to manage subscriptions, resources, and users within a single tenant. -
Partner Administrator
Scoped Access to commission and billing data for a partner’s downstream tenants. - Distributor Administrator
Scoped Access to commission and billing data for a distributors' downstream partners and tenants. -
Platform User
Access to read all system data but cannot make any changes. - Tenant User
Scoped access to read subscriptions, resources, and users within a single tenant. - Partner User
Scoped Access to read commission and billing data for a partner’s downstream tenants. - Distributor User
Scoped Access to read commission and billing data for a distributors' downstream partners and tenants.
First-Time Setup
On first login, the administrator should:
-
Change the default password or confirm federated login is enforced.
-
Configure additional administrators or delegated roles.
-
Verify role mappings if using federated identity providers.
Quick Start Tutorial
Introduction
This page is intended to guide new operators through the steps required to onboard tenants.
Step 1: Add a Region
| Note: Only Platform Administrators can onboard regions. |
- From the Dashboard or under Settings and Regions.
-
Select Add Region and complete the wizard to onboard a region
Step 2: Add a Distributor
| Note: Only Platform Administrators can onboard distributors. |
- Under Relationships select Distributors.
-
Select Add Distributor and complete the wizard to onboard a distributor.
Step 3: Add a Partner
| Note: Only Platform and Distributor Administrators can onboard partners. |
- Under Relationships select Partners.
-
Select Add Partner and complete the wizard to onboard a partner.
Step 4: Add a Tenant
| Note: Only Platform, Distributor and Partner Administrators can onboard tenants. |
- From the Dashboard or under Relationships and Tenants.
-
Select Add Tenant and complete the wizard to onboard a tenant.
Step 5: Create a Subscription
| Note: Any Administrator role can onboard a new subscription. |
- From the Dashboard or under Subscriptions.
- Select Add Subscription and complete the wizard to onboard a new subscription.
Step 6: Configure Users
| Note: Create and scope users accordingly noting that at each level of the model (Distributors, Partners and Tenants) can manage their respective scoped users. |
- From the Dashboard or under Settings and Users.
- Select Add User and complete the wizard to onboard a new user.
Step 7: Configure Pricing
-
Under Pricing.
-
While in the Meters or SKUs view.
-
Select Add Pricing. Configure the price lists as required.