Tenant Onboarding
Introduction
This page is intended to give extended clarity regarding new Tenant onboarding within the CMS.
This process assumes the following activities have already occurred:
- Regions have been added and tested.
- Distributors and Partners have been added and tested.
- Pricing has been established for the Region.
| Note: The steps below can be easily incorporated into an API driven workflow for CMS operators who already have a pre-existing customer front end. The API is described here. |
Prerequisite Information
The table below attempts to help service providers with forward planning ahead of onboarding a new tenant.
| Prerequisite | Question to Ask | Sample Answer |
| Entra Tenant for Azure Stack and CMS Authentication. | Provide the Microsoft Entra Tenant you wish to use for Authentication to the Azure Stack? | nwtraders.onmicrosoft.com |
| Entra User to be the default / initial owner of the Azure Stack Subscription / CMS Tenant. |
Provide the Entra user who will be the initial owner of the Azure Stack subscription?
This can be any user or guest user within the Entra Tenant? |
jdoe@northwindtraders.com.au |
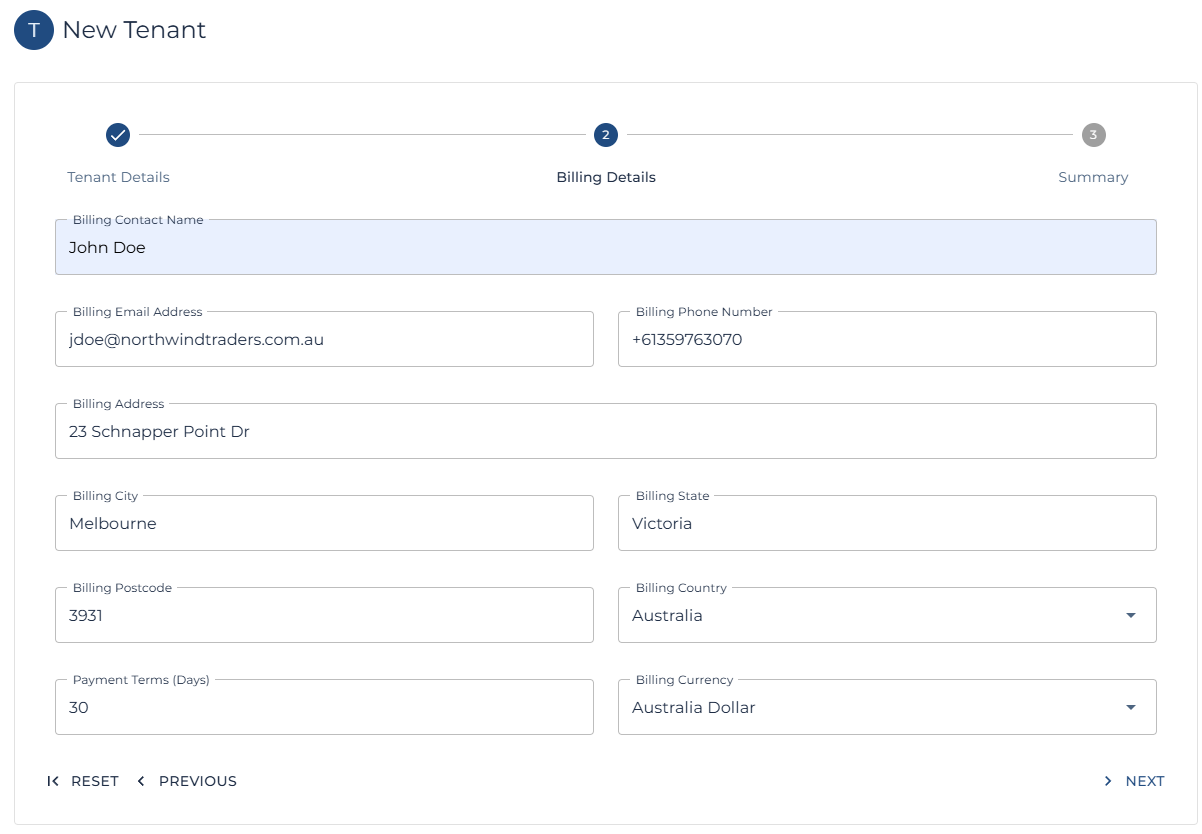
| Billing Information (Tenant) |
Provide the following Billing Contact information:
|
John Doe jdoe@northwindtraders.com.au +61359763070 3 Schnapper Point Dr Melbourne Victoria Australia
|
| Billing Information (Internal) |
If using the CMS for month end billing.
|
30 Days Australian Dollar |
Create a new Tenant
The first step involves create a new Tenant within the CMS.
| Note: This links the Tenant to a Partner. |
| Note: Follow the steps here to create a new Tenant. |
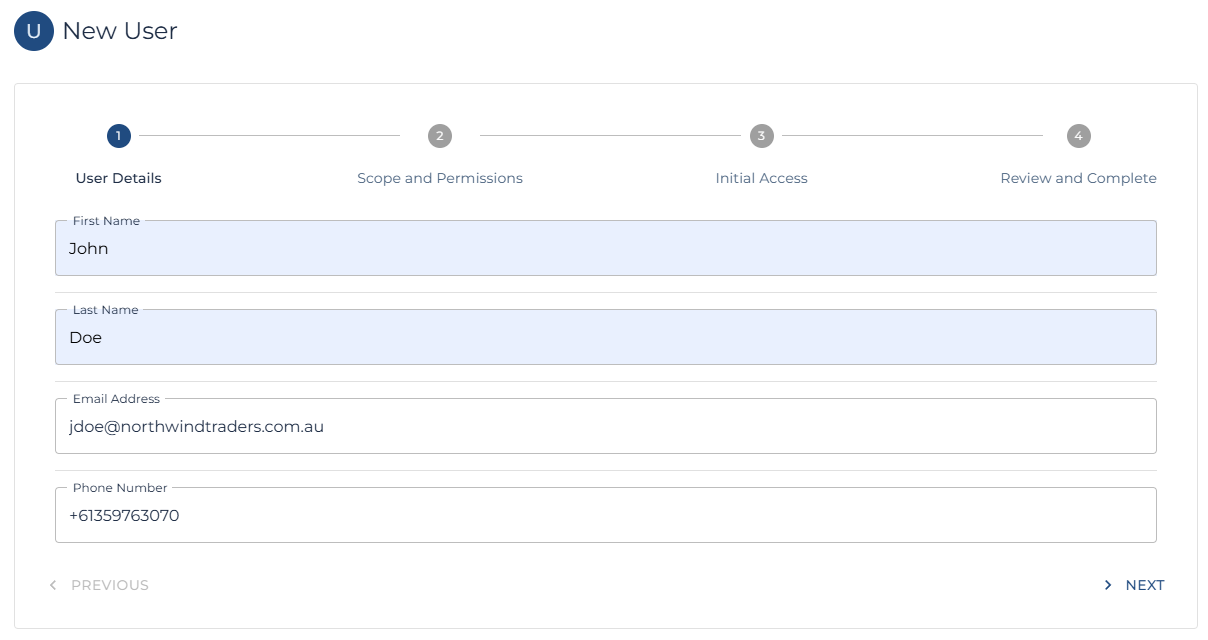
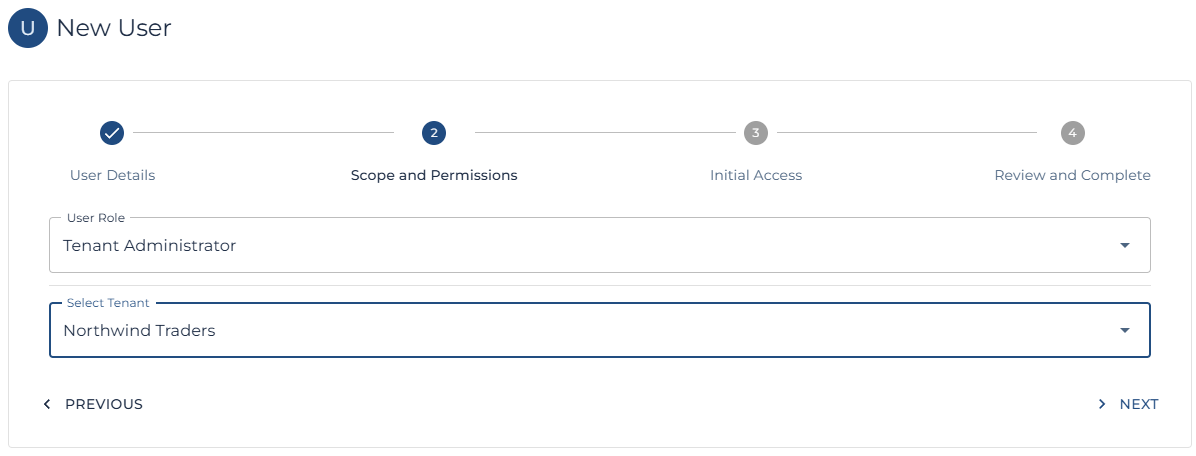
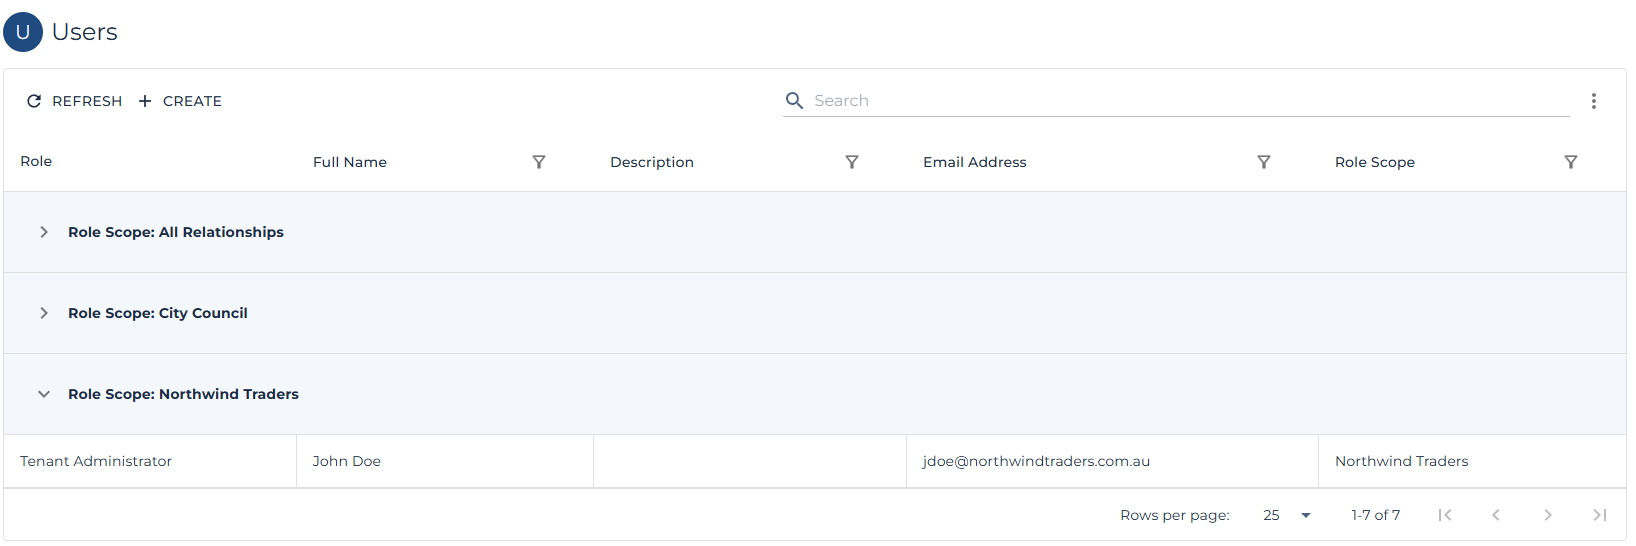
Setup Users for the New Tenant
One the Tenant has been created; the next step is to create at least one Tenant Administrators.
| Note: Tenant Administrators can then create and manage additional users and Administrators within the Tenant. |
| Note: Follow the steps here to create a new User |
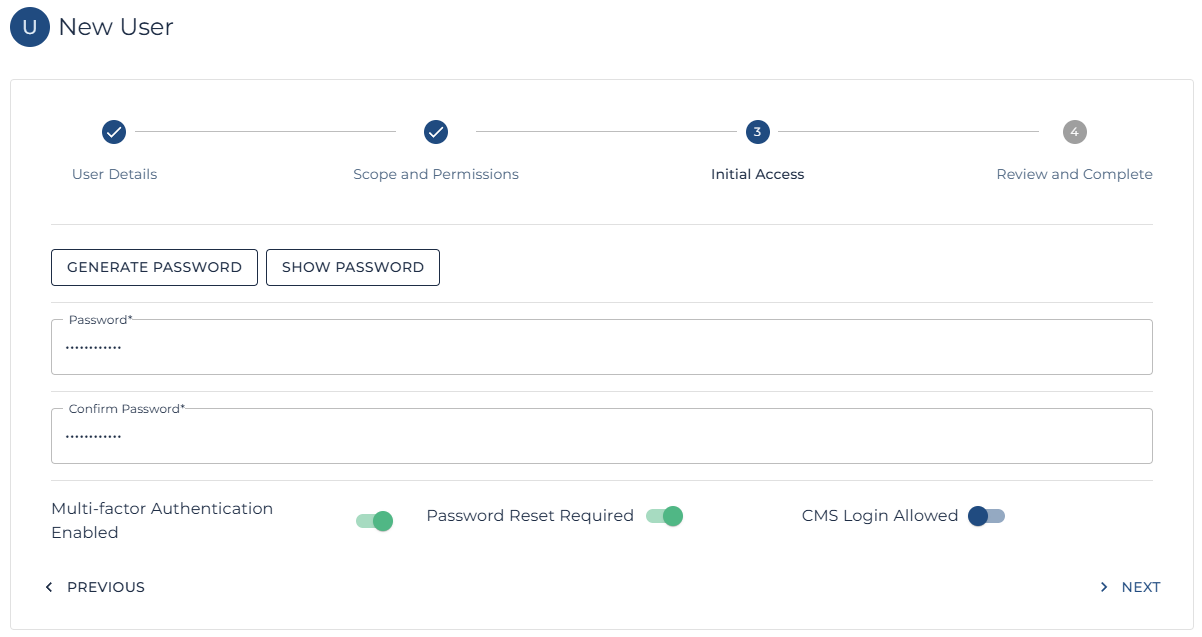
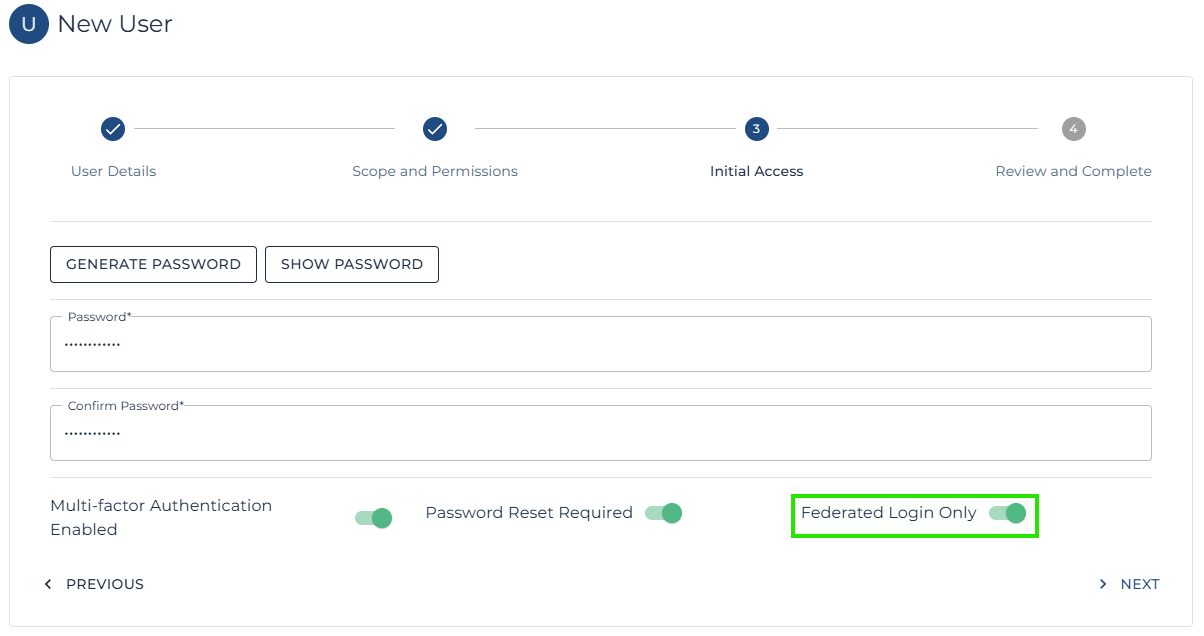
|
Note: One option of interest is the CMS Login Allowed. This can be switched to Federated Only, ensuring the user cannot login using the CMS authentication flow and making the tenants Entra or Google authentication system responsible.
In most cases, as the Azure Stack requires an Entra tenant in order to authenticate with the Azure Stack anyway, it is far easier to simply set CMS login Allowed to Federated Login Only as shown below.
Again, this simply blocks the user from attempting CMS authentication and delegates the Auth responsibility to the tenants Entra authority. |
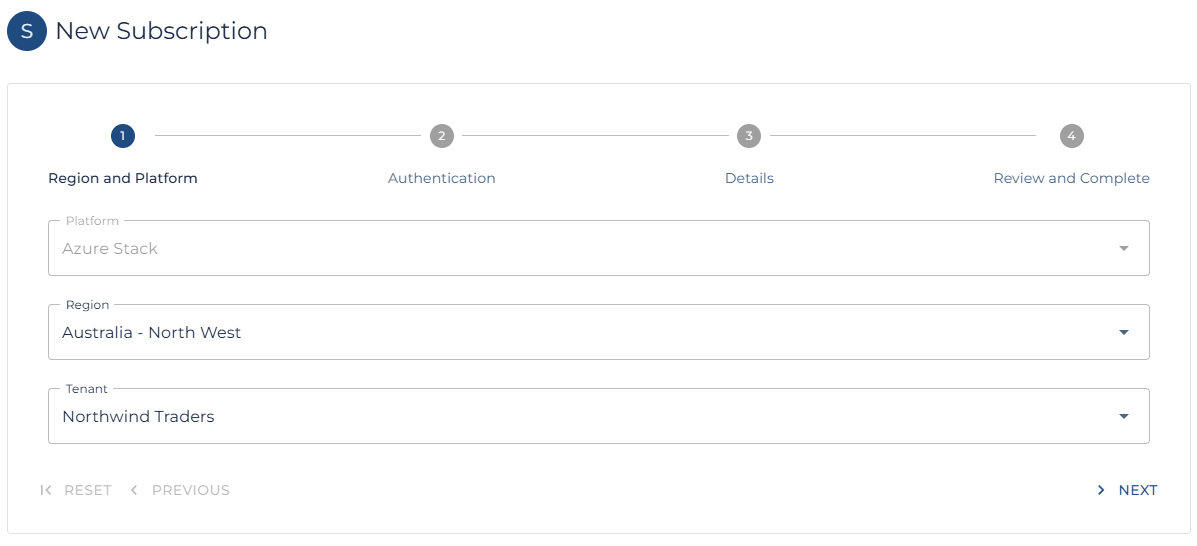
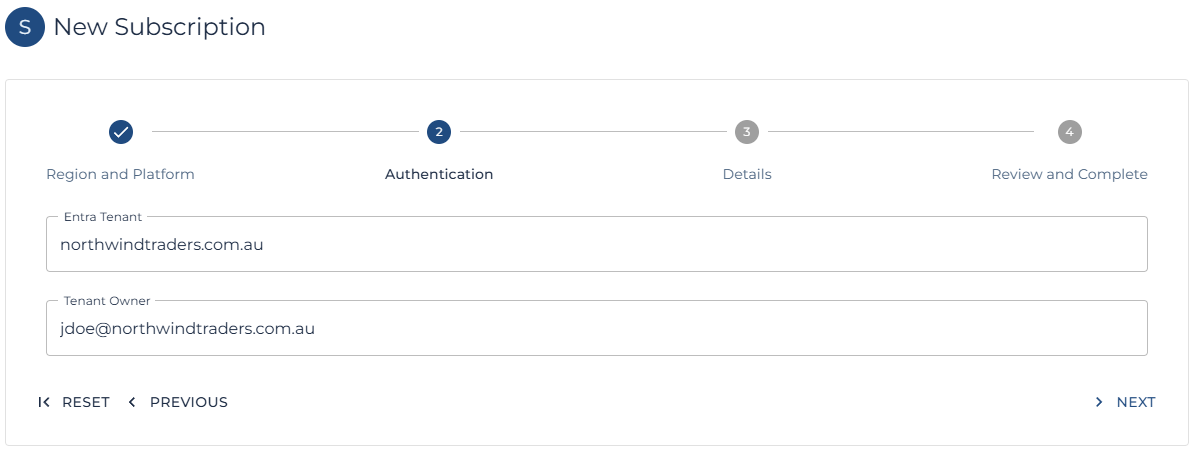
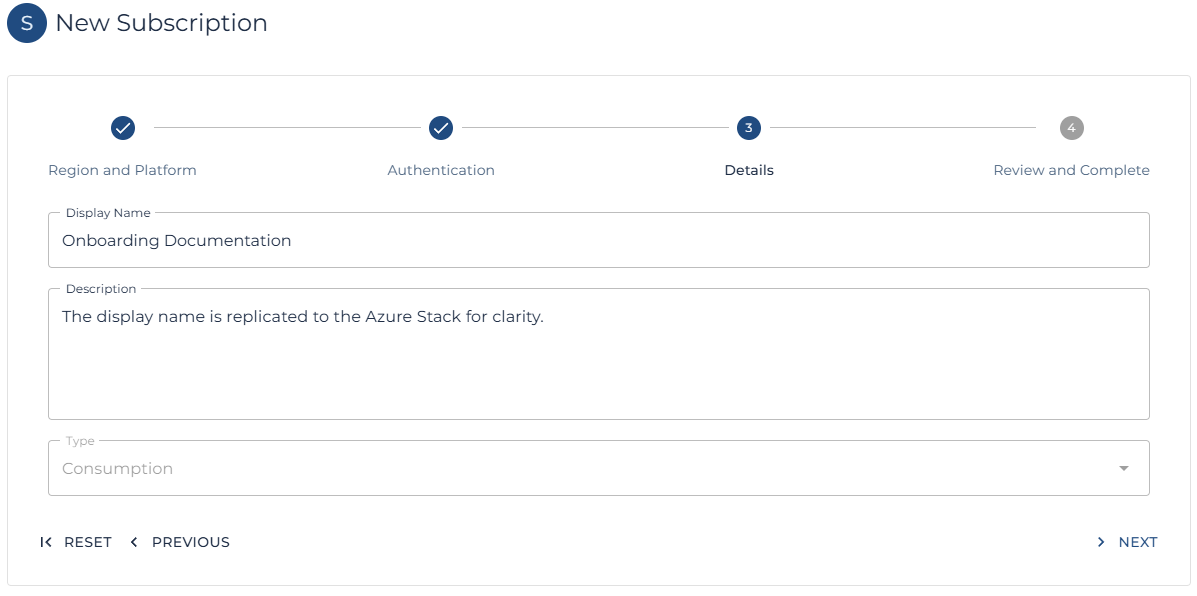
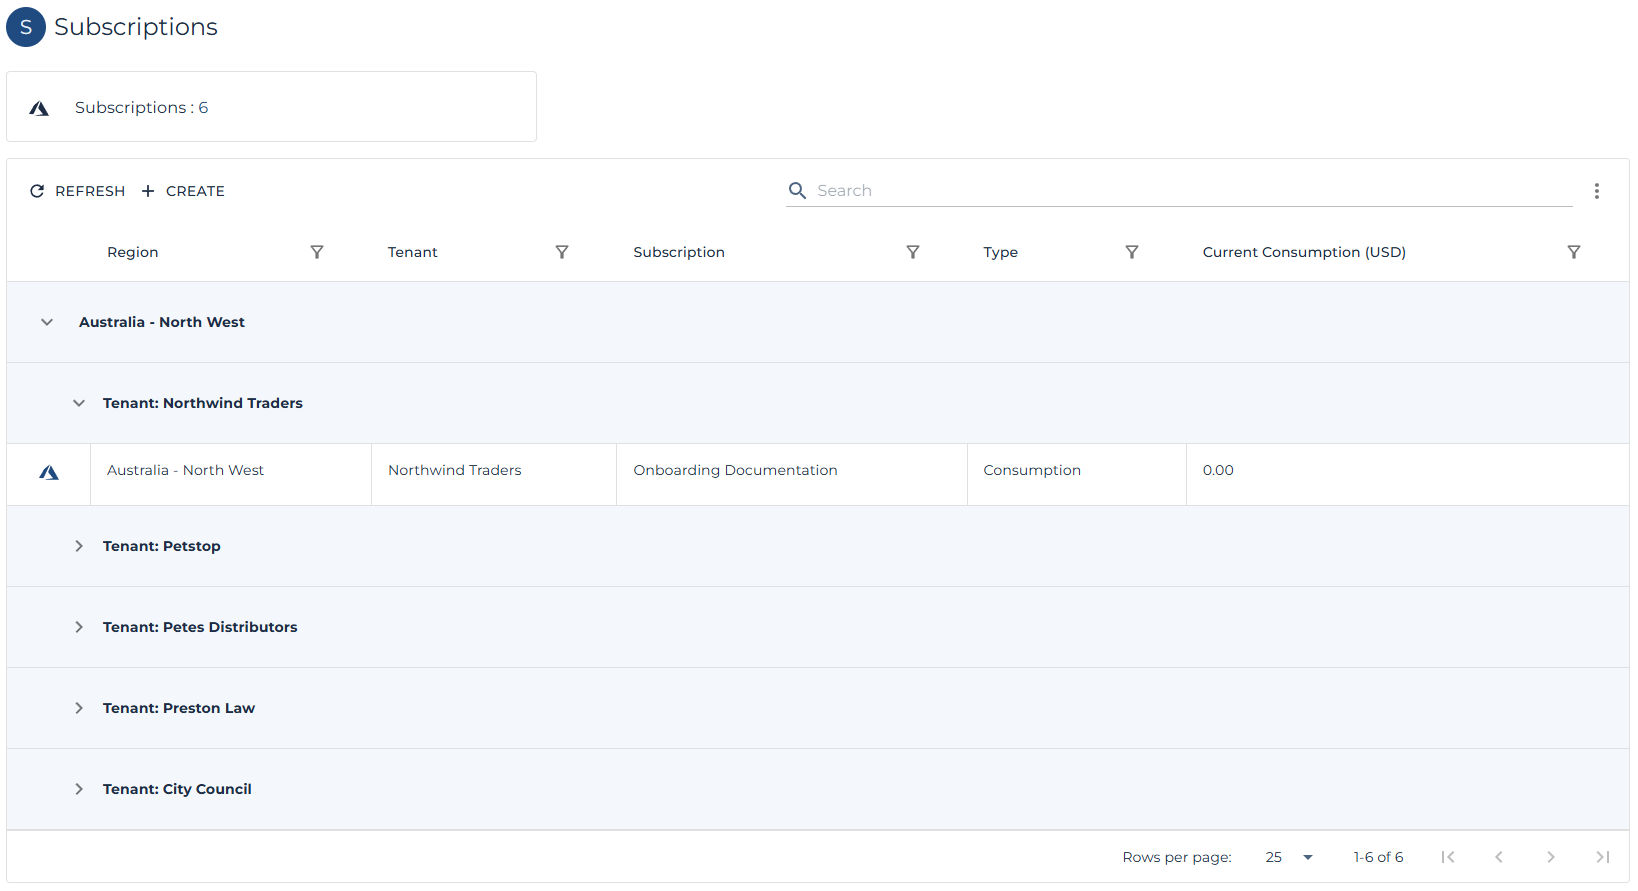
Create a new Subscription
Now that at least one user has been granted access to the CMS tenant, the first subscription can be created by a Platform Administrator, the Distributor who manages the Partner, the Partner who manages the Tenant or the Tenant themselves.
| Note: Follow these steps to create a new subscription. |
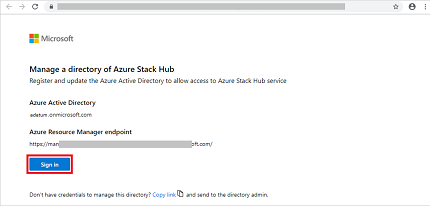
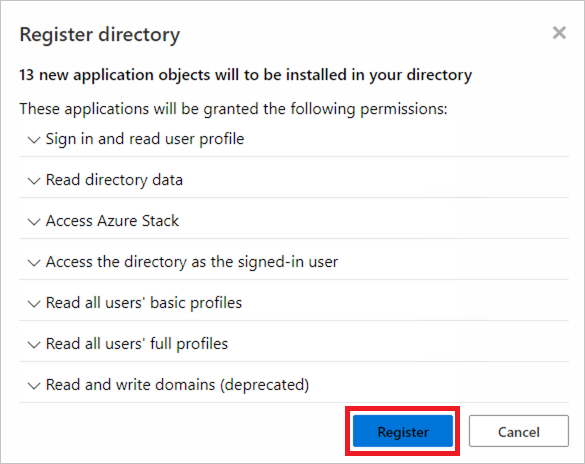
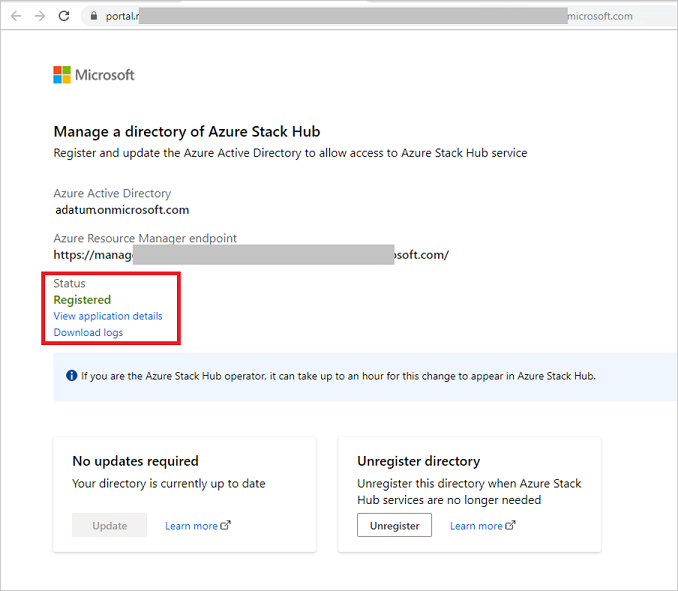
Register the Entra Tenant with the Azure Stack
| Note: This operation is managed through the Azure Stack itself and requires the tenant to complete the process, the tenant must use an Entra user with permission to register Entra Applications. Such as a Global Administrator. |
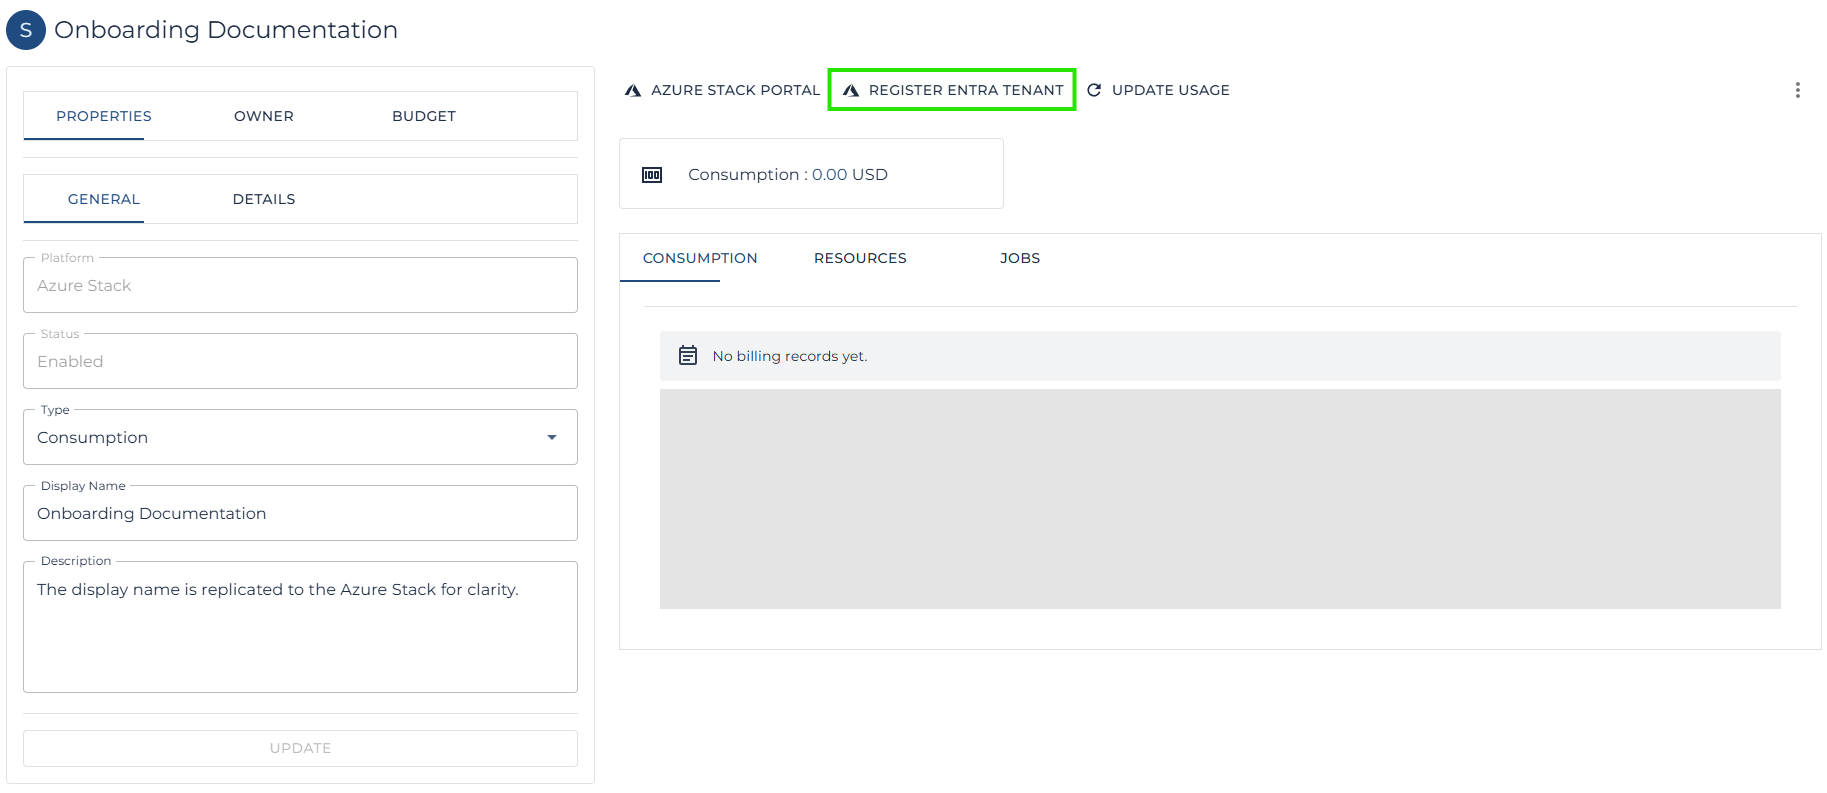
| Note: The steps to complete the Azure Stack Entra Tenant registration can be found on the Microsoft website here. |
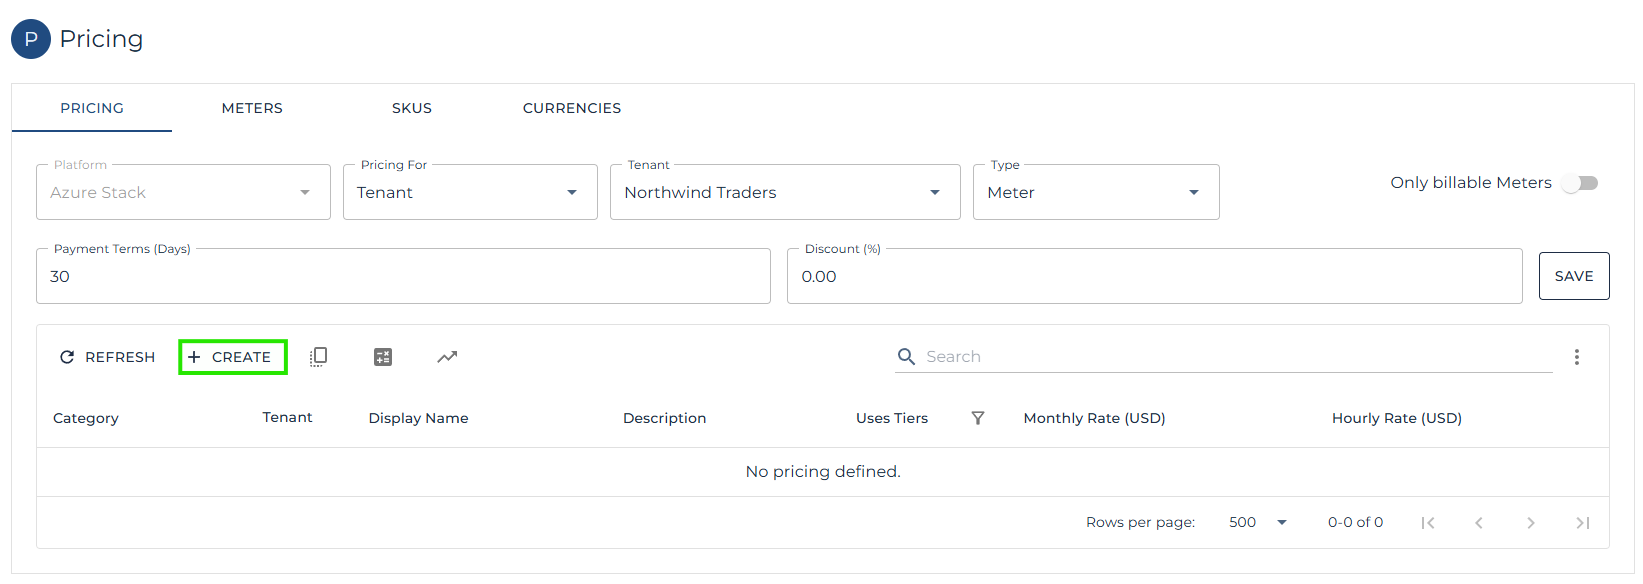
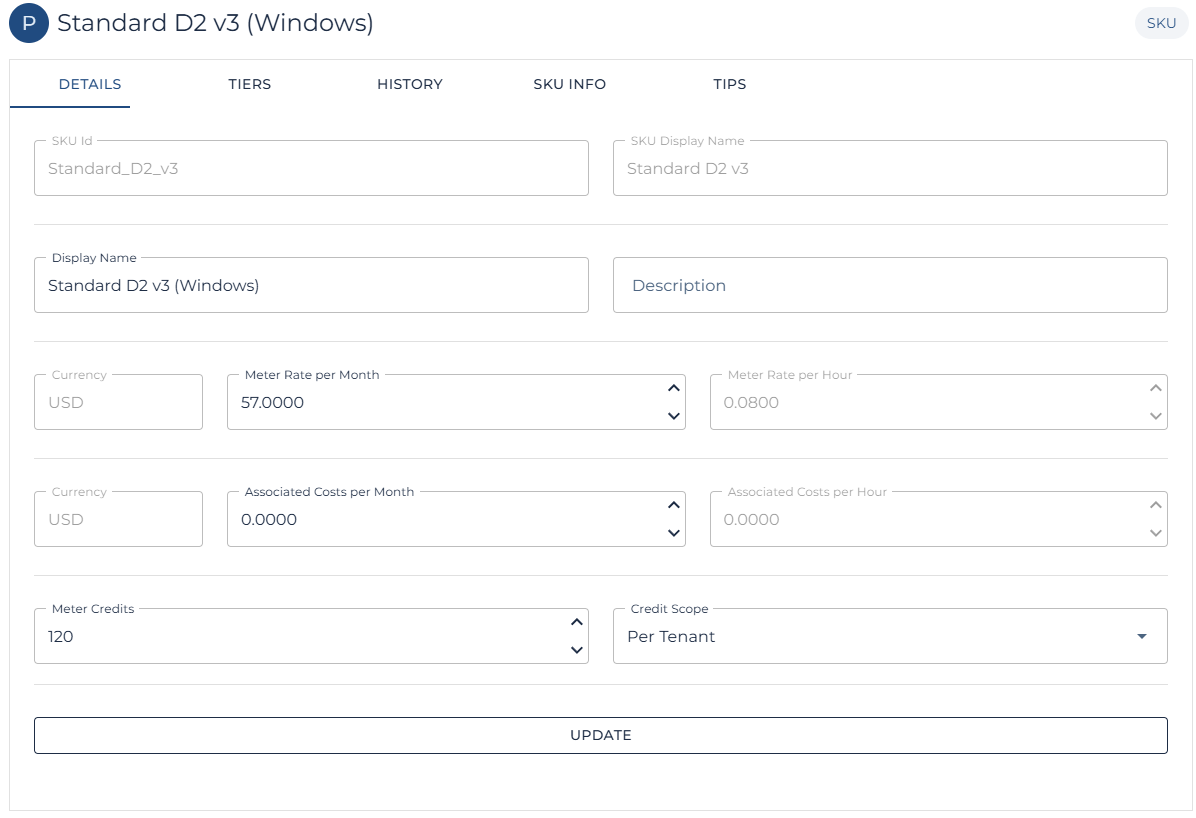
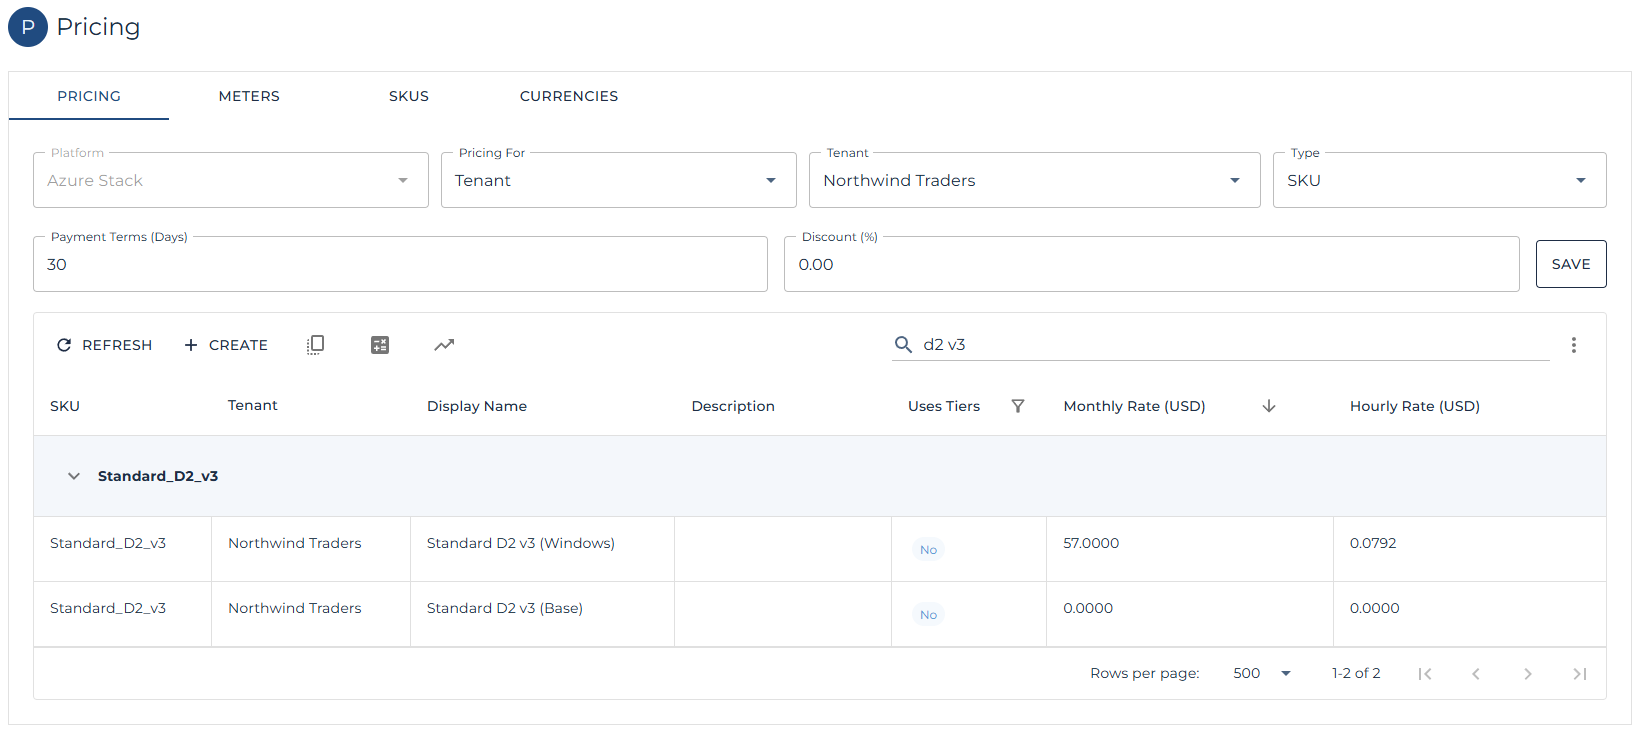
Create bespoke Pricing
Some opportunities may have been sold to tenants with custom pricing or with credits which need to be applied each month. The section below continues the flow by showing custom pricing and credits being applied to specific Azure Stack VM SKUs.
| Note: This is an optional step and only required if the tenant requires bespoke pricing or credits. |
| Note: Follow these steps to create a new price list. |
| Note: The tenant specific price list will apply during the next usage collection run or can be updated on demand in the pricing page using the recalculate button. |